Getting Started
Creating and sharing your wish lists is easy. Follow these simple steps to get started with Share a Wish.
1. Login or Continue Without an Account
Sign up using your email to unlock all features, or continue without an account to use most of the app's features.
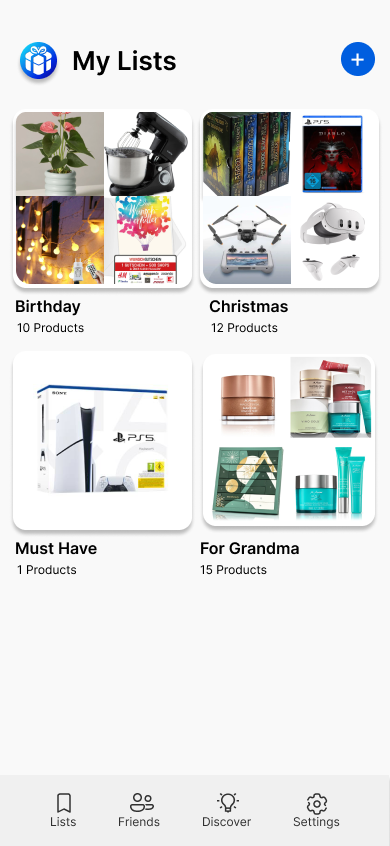
2. Create a Wish List
Give your list a name and start adding items. It's that simple!
3. Add Items to Your List
There are multiple ways to add items to your list:
- Directly (Copy & Paste): Paste a link, and we’ll automatically load the title, price, image, and description from many sites. Add a priority if you like.
- Using Browser Plugin: Install the "Share a Wish" plugin. On iOS, use the built-in browser plugin by tapping the share button and selecting the app icon. For other browsers, click the "Share a Wish" icon in your plugin bar on any page to add the current page to your list.
- Import Amazon Wish Lists: Share your Amazon wish list link, and we’ll import it automatically. Just tap the share button on your Amazon list to get the link.

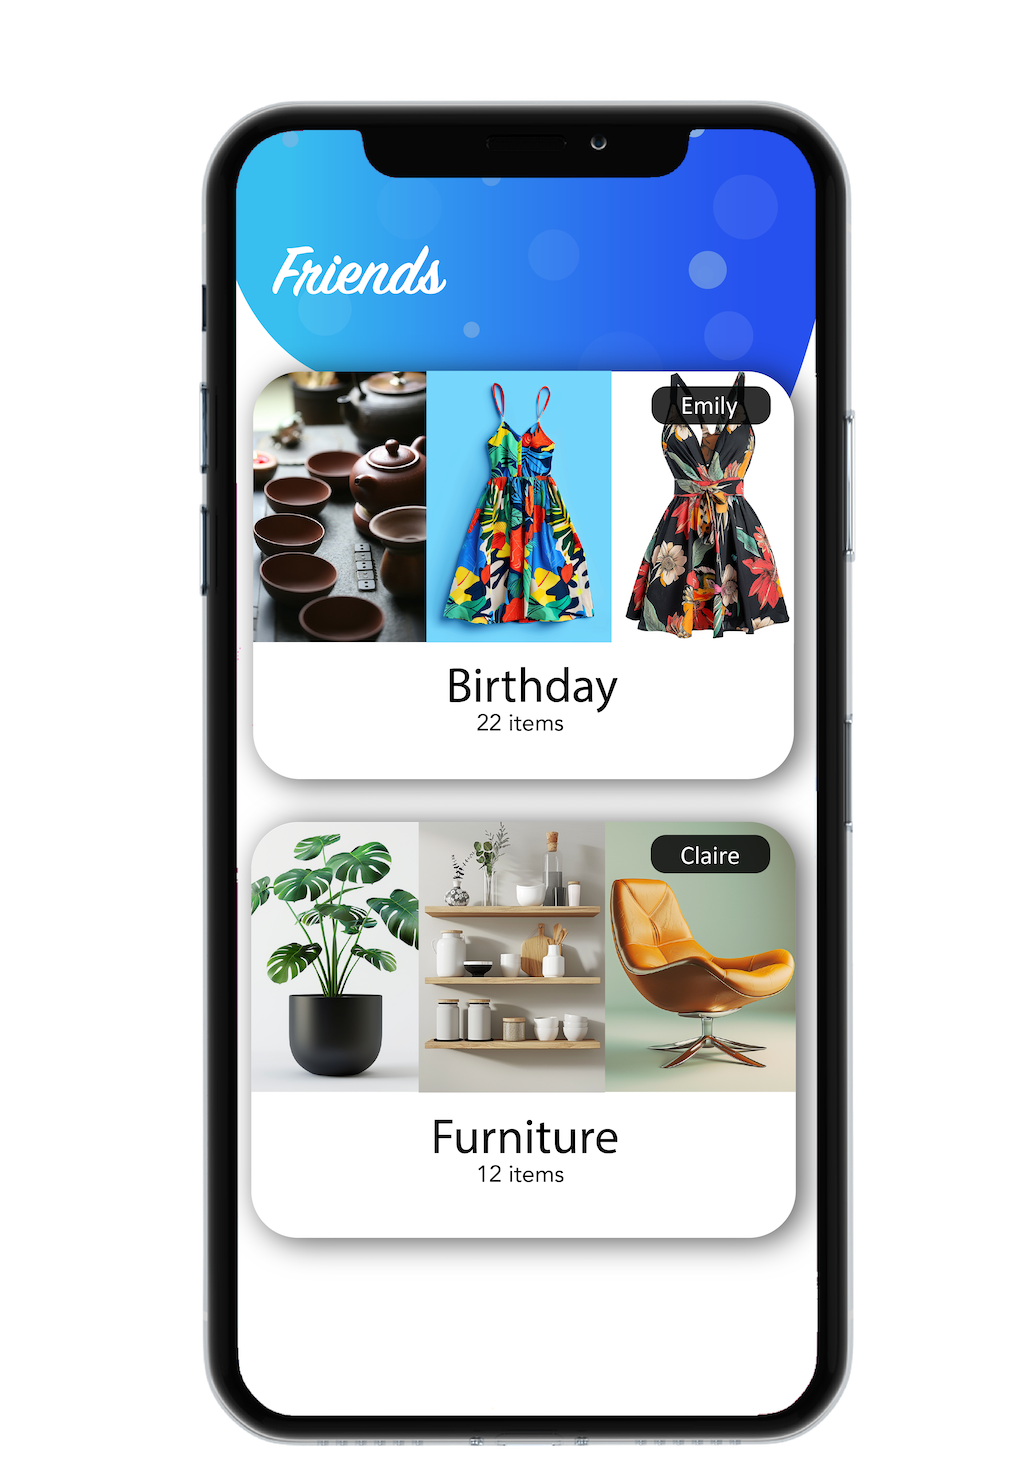
4. Share with Friends and Family
Share your wish lists with anyone. If they have an account, they can add your list to their app. If not, they can view your list in any browser using the shared link.
5. Mark Items as Purchased
You and anyone with the shared link can mark items as purchased. If items are removed from your Amazon list or marked as purchased on Amazon, your list will update automatically, reflecting these changes.
How to add products?
To add products from your mobile device follow the instructions blow.
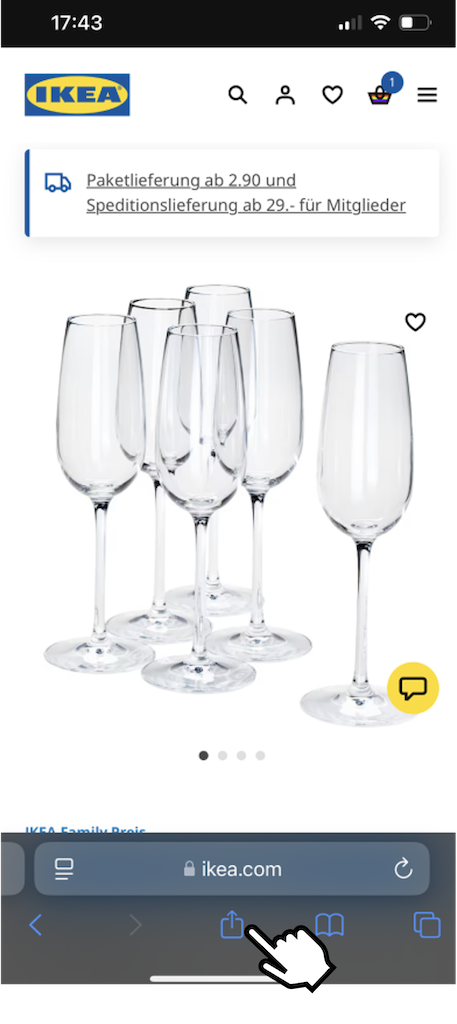
Using the Browser's Share Button
Open the website or product you want to add in your phone's browser.
Tap the "Share" button in your browser's menu to proceed.
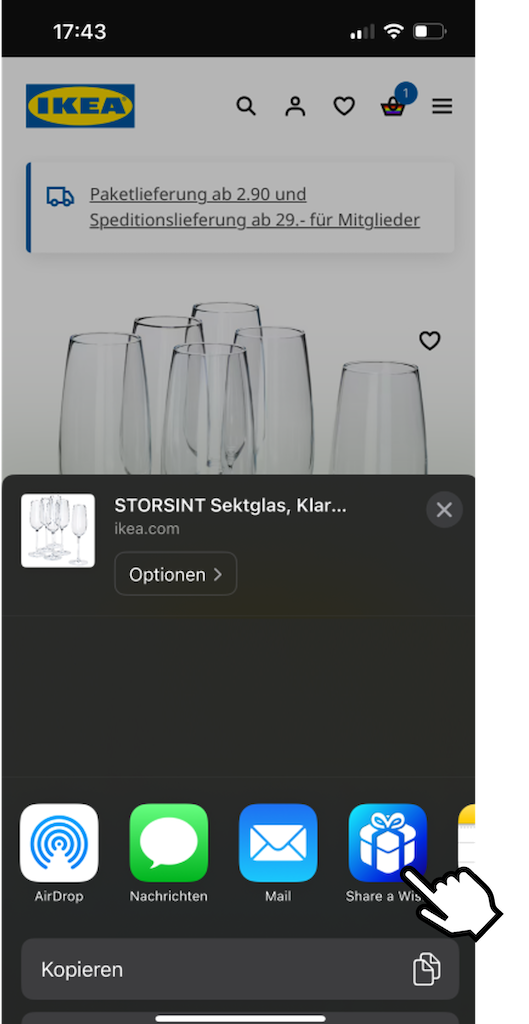
Select the "Share a Wish" App
Tap on the "Share a Wish" app icon to proceed. If you don’t see it, swipe left in the options bar to reveal the "More" option. Select "More," and you’ll find "Share a Wish" in the displayed list. Simply tap on it to continue.

Select a List
Select one of your lists you want to add the product to.
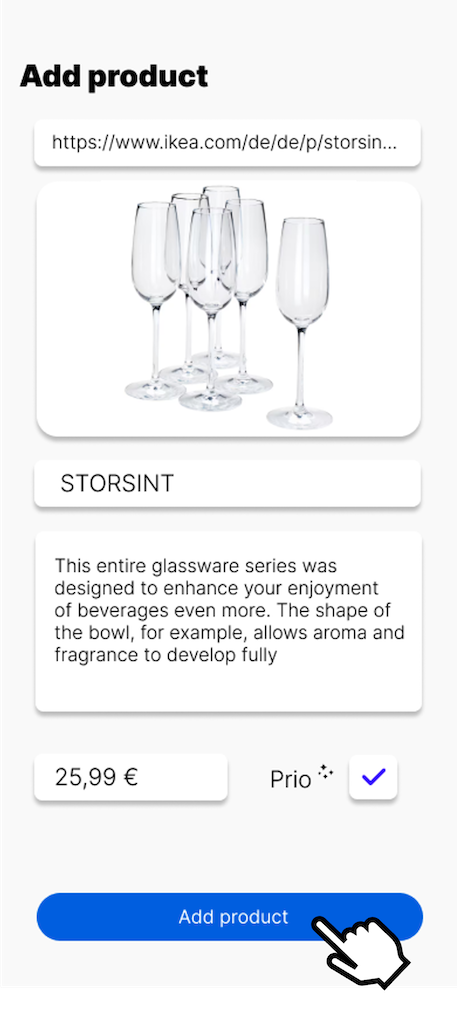
Add the Product
In most cases, the product details will load automatically. You can review and adjust the information as needed to suit your preferences. Once you're satisfied, simply click the "Add" button.
And that's it! The product has been successfully added to your list.
How to add products from other Apps?
You can add products from other Apps too! Just follow the steps.
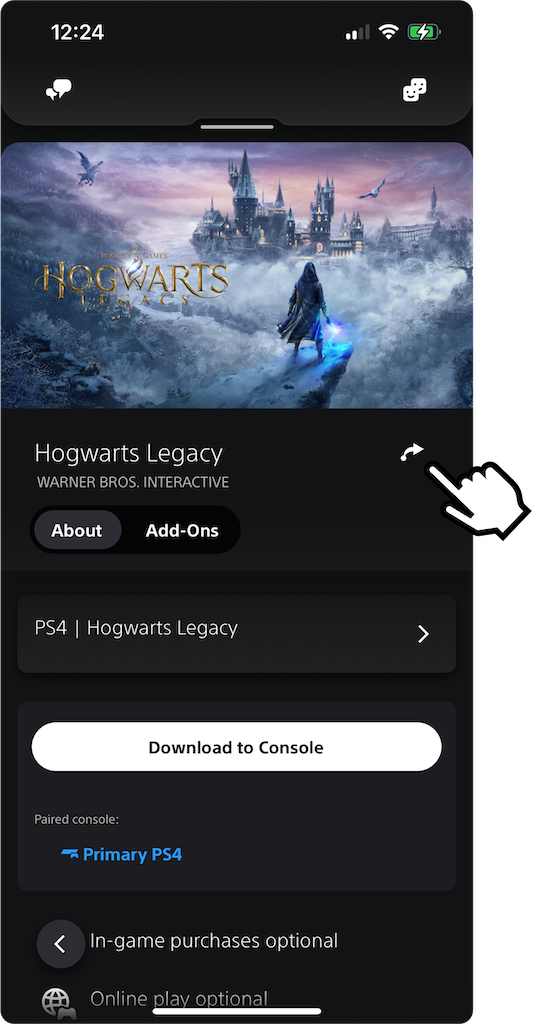
Use the "Share" Option
Most apps provide a "Share" button for their products. You can use this button to select the "Share a Wish" app and add the product to your list. If the "Share a Wish" app isn't immediately visible, choose the "More" or "Other" options to find it. Once selected, follow the same steps as you would to add links directly from your phone's browser.
How to import my Amazon wishlist?
You can also automatically import your Amazon Wish List! Just follow the instructions blow.
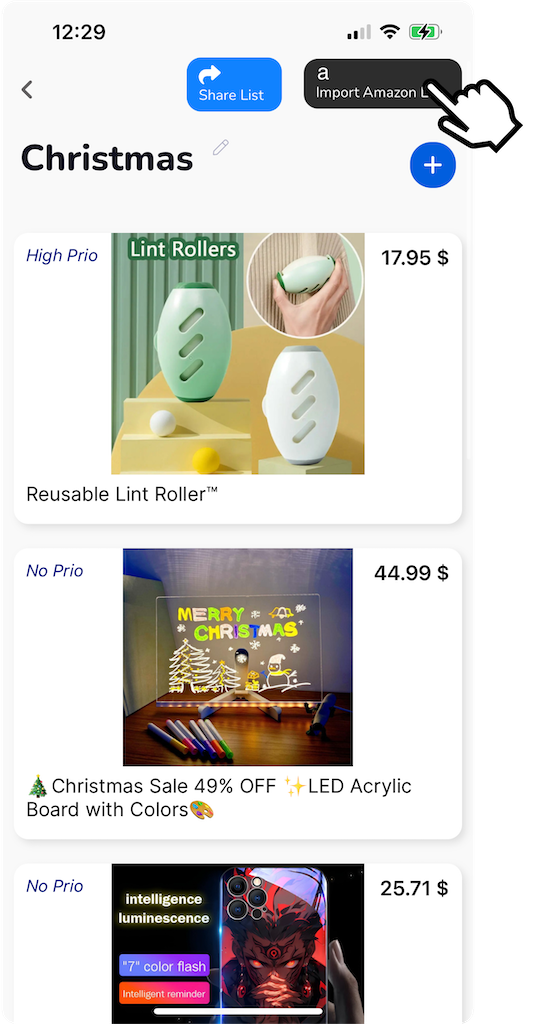
Select a List
Choose the list where you want your items to be imported. Once selected, tap the Amazon button at the top to proceed.
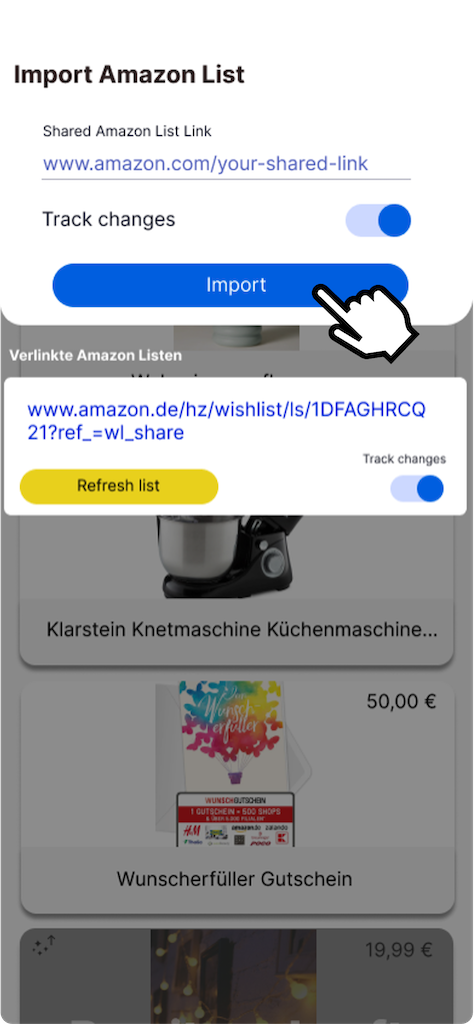
Add and Import a Shared Amazon Link
Copy the link to your Amazon wish list directly from Amazon and paste it into the appropriate field in the "Share a Wish" app.
Select whether you want the data to be tracked automatically, then click "Import."
Your wish list items will now be added to your "Share a Wish" list seamlessly.
Additional Tip
You can add not just shopping products but also webpages for vouchers or similar items. Perfect for birthdays, christmas, or any special occasion!